As a project manager, one of your primary responsibilities is to ensure that your projects are completed on time and within budget. This can be a daunting task, especially if you’re dealing with a complex project that involves multiple stakeholders, resources, and deadlines. One of the key challenges you’ll face in managing a project is managing the schedule, and a key component of the schedule is the float. In this article, we’ll explore what float is, why it’s important, and how you can reduce it in P6.
Table of Contents
Understanding Float
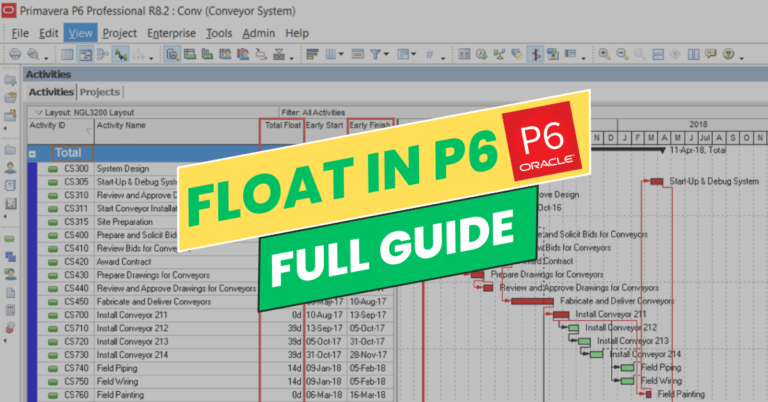
Float is the amount of time that a task can be delayed without delaying the entire project. In other words, it’s the flexibility that exists within the project schedule. There are two types of float: total float and free float. Total float is the amount of time that a task can be delayed without delaying the project completion date. Free float is the amount of time that a task can be delayed without delaying the start of the next task.
For more detailed information about floats, you can check our full article on floats here
Why Float is Important
Float is important because it helps you to manage the project schedule more effectively. By understanding the amount of float that exists in your project, you can make better decisions about how to allocate resources and prioritize tasks. It also helps you to identify tasks that are critical to the project schedule and those that are less critical.
How to show floats in Primavera P6
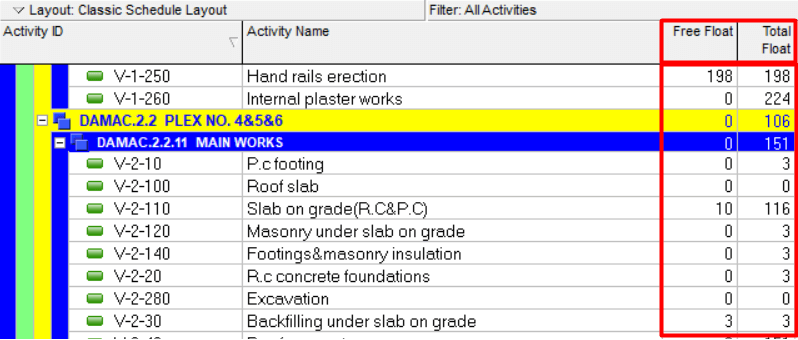
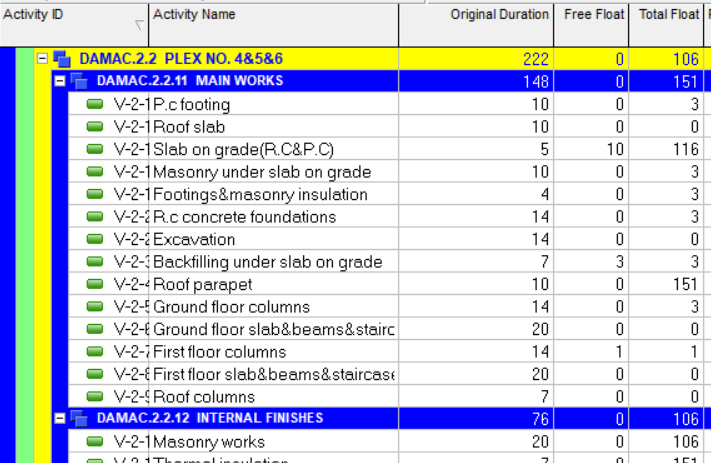
Float values are stored in two columns, one for total float and another one for free float. They are not shown in P6 by default and you may have to do some steps to show these two columns. Follow the steps in this article to show them
Steps to Reduce Float in P6
Reducing float in P6 can be a challenging task, but there are several strategies you can use to help you achieve this. Here are some tips to help you reduce float in P6:
-
Review Activity Durations

Change Original Duration Activity durations play a significant role in determining float. If an activity’s duration is too long, it can cause unnecessary delays and increase the amount of float in the schedule. Reviewing and adjusting activity durations can help to reduce float and make the schedule more efficient. For example, let’s say that you have an activity that has been assigned a duration of 10 days. However, upon closer inspection, you realize that the task can actually be completed in 5 days. By reducing the duration of the activity to 5 days, you have effectively reduced the amount of float in the schedule.
-
Check Constraints

Constraints May Lead to Negative Float Constraints are limitations that restrict the start or end dates of an activity. They can be helpful in some situations, but they can also increase the amount of float in a schedule. If an activity is constrained to start or end on a specific date, it may create unnecessary gaps in the schedule and increase the amount of float.
-
Review Activity Sequencing

Change Activity Relationships Activity sequencing plays a vital role in determining the amount of float in a project schedule. By resequencing activities, project managers can reduce the amount of float in the schedule. For example, if Activity B is dependent on Activity A, reducing the duration of Activity A will reduce the float for both activities.
-
Remove Negative Float
Negative float occurs when an activity’s late finish date or late start date exceeds the project completion date. This indicates that the activity must be completed earlier to meet the project deadline. To remove negative float, project managers can review the activity durations, constraints, and sequencing to identify potential areas of improvement. Adjusting these factors can help to remove negative float and improve the schedule’s overall efficiency.
-
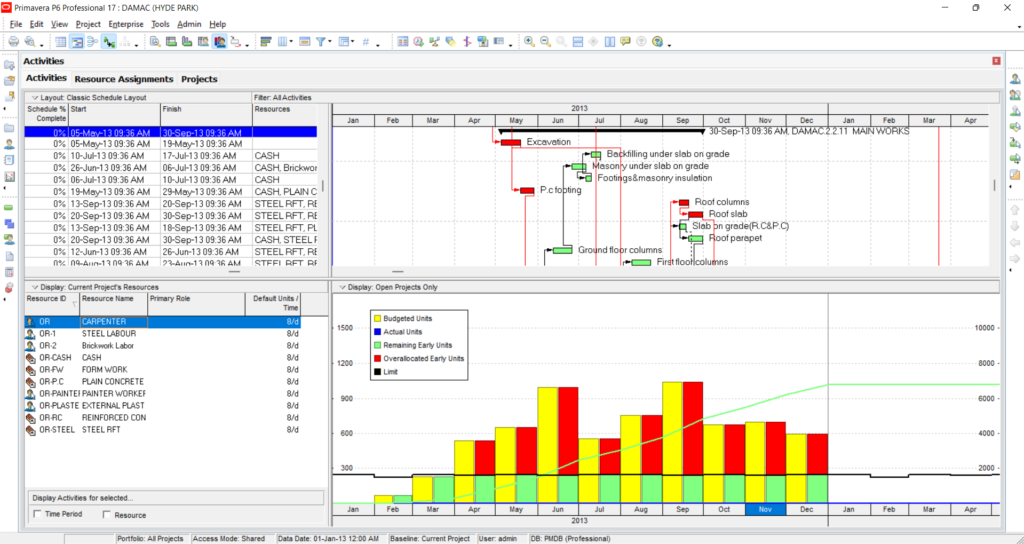
Use Resource Leveling

Resources Levelling Resource leveling is a technique that involves balancing the workload of resources to prevent overallocation and delays. By leveling resources, project managers can reduce the amount of float in the schedule and ensure that the project is completed within the scheduled timeframe. For example, if a particular resource is overallocated, project managers can adjust the activity durations or assign additional resources to balance the workload.
-
Monitor the Schedule
Regularly monitoring the schedule can help project managers identify potential delays and take corrective action to reduce float. By reviewing the critical path and analyzing the schedule’s performance, project managers can identify potential areas of improvement and make necessary adjustments to reduce float.


In conclusion, reducing float in P6 requires a comprehensive approach that involves reviewing activity durations, constraints, sequencing, using resource leveling, and monitoring the schedule. By implementing these strategies, project managers can ensure that the project is completed within the scheduled timeframe and budget.